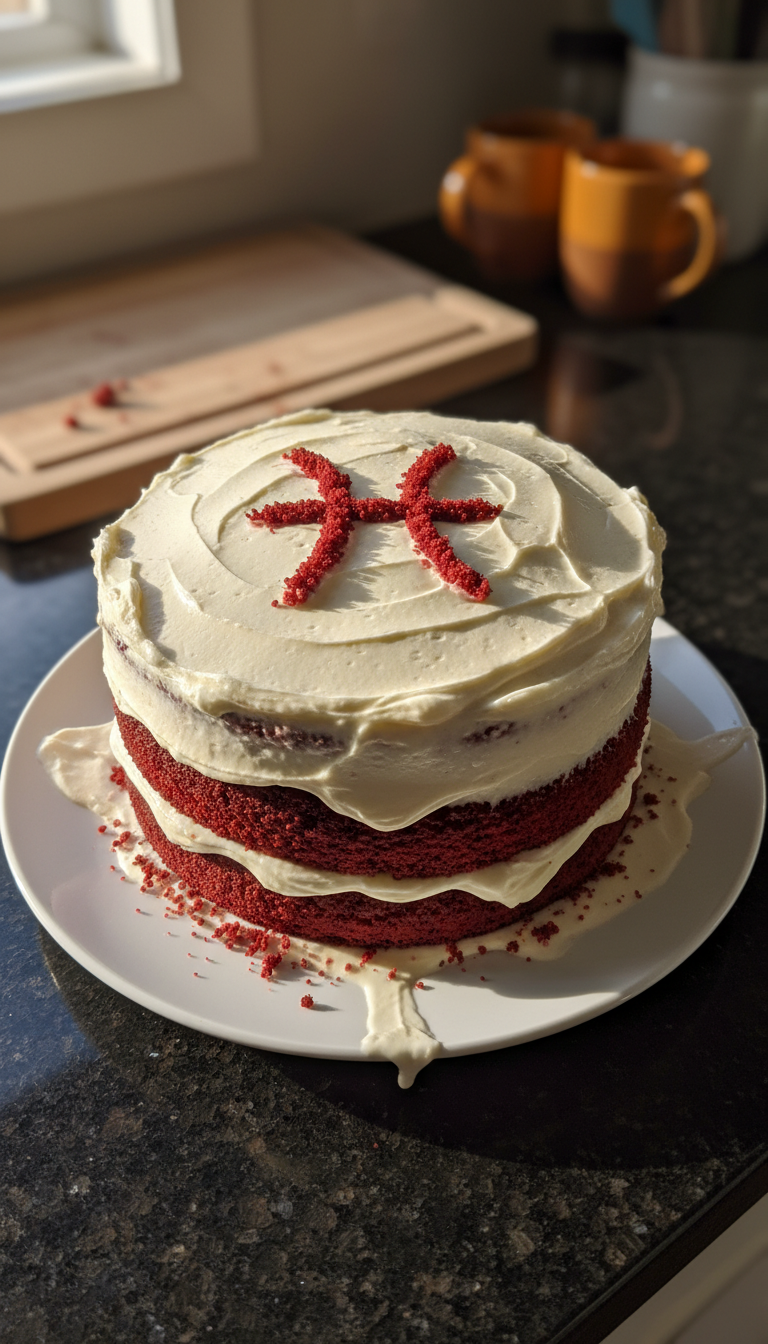
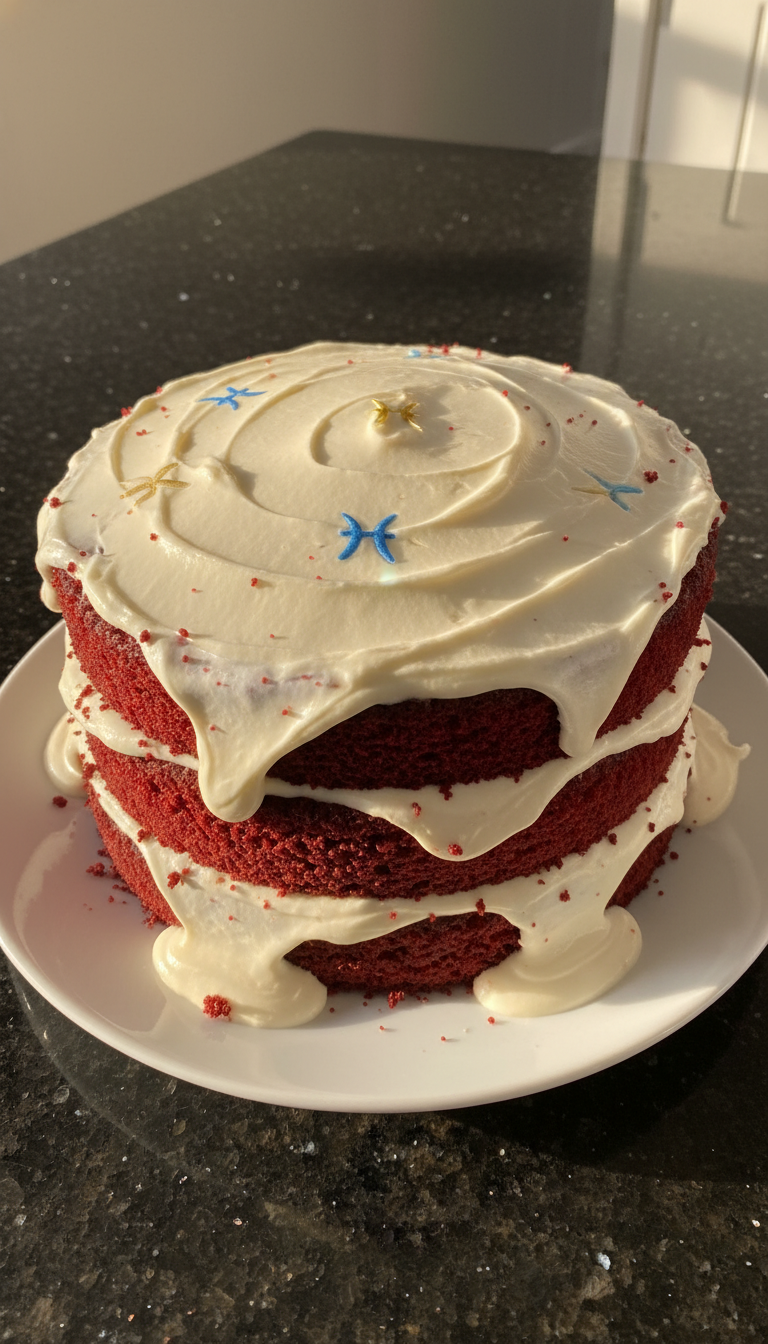
Pisces Red Velvet Cake
Highlighted under: Sweet Recipe Collection
I have always been captivated by the vibrant colors and rich flavors of red velvet cake, and this Pisces Red Velvet Cake is no exception. With its stunning crimson hue and velvety texture, it has become a staple at our celebrations. The combination of buttermilk, cocoa, and a hint of vanilla creates a flavor profile that is both indulgent and unforgettable. Whether it's a birthday, an anniversary, or just a special treat for ourselves, this cake never fails to impress. Let's dive into the world of baking this beautiful cake together!
When I first attempted to make this Pisces Red Velvet Cake, I didn’t realize how crucial the choice of cocoa powder would be. Using quality Dutch-processed cocoa not only intensifies the flavor but also enhances the color, giving that deep red hue we all adore. The process of mixing the dry and wet ingredients separately is also key; it helps prevent over-mixing, which can make the cake dense. Trust me, the light, airy texture you’ll achieve is worth the extra effort!
As I baked this cake, I learned that the buttermilk not only adds moisture but also contributes to the cake’s tangy flavor. This perfect balance between sweet and tart is what elevates a classic red velvet cake. If you're a fan of cream cheese frosting, definitely use a generous amount to finish it off—it's the perfect complement. I always recommend chilling the cake before frosting; it makes handling much easier and prevents the frosting from slipping off!
Why You'll Love This Cake
- Luscious, moist texture that melts in your mouth
- Vivid red color makes it a showstopper at any event
- Perfectly balanced between sweet and tangy flavors
Understanding the Ingredients
Each ingredient in the Pisces Red Velvet Cake plays a crucial role in achieving its signature taste and texture. For instance, the buttermilk not only adds moisture but also contributes a subtle tanginess that balances the sweetness of the sugar. If you don't have buttermilk on hand, you can easily make a substitute by mixing one tablespoon of white vinegar or lemon juice with a cup of milk and letting it sit for about 5 minutes until it thickens slightly.
The addition of cocoa powder brings a hint of chocolate flavor, which contrasts beautifully with the cake's red hue. Remember that the cocoa should be of high quality—preferably unsweetened Dutch-processed—to ensure it blends seamlessly into the batter without clumping. This will enhance the cake’s mellow chocolate notes while keeping the striking red color intact without overwhelming it.
Baking Tips for Success
When mixing your ingredients, it’s essential to avoid overmixing the batter once you combine the dry and wet ingredients. This can lead to a denser texture, rather than the light and airy cake you desire. Stir gently until just combined; small lumps are perfectly fine. You want the final batter to be smooth but not too glossy, indicating that the gluten hasn’t been overly developed.
Another tip is to check for doneness early. Depending on your oven, baking might take as little as 25 minutes or as long as 30 minutes. To test for doneness, insert a toothpick into the center of the cake; it should come out clean, with only a few moist crumbs clinging to it. If the toothpick is wet with batter, it’s not ready yet, so give it a few more minutes before checking again.
Ingredients
Ingredients
For the Cake
- 2 1/2 cups all-purpose flour
- 1 1/2 cups granulated sugar
- 1 teaspoon baking soda
- 1 teaspoon salt
- 1 teaspoon cocoa powder
- 1 1/2 cups vegetable oil
- 1 cup buttermilk, room temperature
- 2 large eggs, room temperature
- 2 tablespoons red food coloring
- 1 teaspoon vanilla extract
- 1 teaspoon white vinegar
For the Cream Cheese Frosting
- 8 oz cream cheese, softened
- 1/2 cup unsalted butter, softened
- 4 cups powdered sugar
- 1 teaspoon vanilla extract
Make sure all ingredients are at room temperature for the best results.
Instructions
Step-by-Step Instructions
Preheat Oven and Prepare Pans
Preheat your oven to 350°F (175°C). Grease and flour two 9-inch round cake pans.
Mix Dry Ingredients
In a medium bowl, sift together the flour, sugar, baking soda, salt, and cocoa powder. Set aside.
Combine Wet Ingredients
In a large mixing bowl, combine oil, buttermilk, eggs, food coloring, vanilla, and vinegar. Whisk until well blended.
Combine Both Mixtures
Gradually add the dry ingredients to the wet mixture, stirring gently until just combined. Be careful not to overmix.
Bake the Cakes
Divide the batter equally between the prepared cake pans. Bake for 25-30 minutes, or until a toothpick inserted in the center comes out clean.
Cool the Cakes
Allow the cakes to cool in the pans for about 10 minutes before transferring them to a wire rack to cool completely.
Prepare the Frosting
For the frosting, beat together cream cheese and butter in a large bowl until creamy. Gradually add powdered sugar and vanilla, mixing until smooth.
Frost the Cake
Once the cakes are completely cool, place one layer on a serving plate. Spread frosting on top, then add the other layer and frost the top and sides.
Serve and Enjoy
Slice the cake and enjoy it with family and friends!
Let the frosted cake sit for at least 30 minutes before slicing to set the frosting.
Pro Tips
- For extra flavor, add a tablespoon of almond extract to the batter. Storing the cake in the refrigerator can prolong freshness if not consumed immediately.
Frosting Tips
To ensure your cream cheese frosting is perfectly creamy and spreadable, both the cream cheese and butter must be at room temperature. This typically takes about 30 minutes to an hour out of the refrigerator. If you find that your frosting is too thick, adding a tablespoon of milk at a time can help achieve your desired consistency without compromising flavor.
When frosting the cake, I recommend using an offset spatula for smooth application. Start with a dollop of frosting on the top layer and work your way outwards, then apply a thin crumb coat to catch any loose crumbs. Chill it briefly before applying a generous final layer of frosting for a cleaner finish.
Storage and Make-Ahead Suggestions
If you want to bake the cake ahead of time, it can be stored, un-frosted, at room temperature for up to three days. Just wrap it tightly in plastic wrap to retain its moisture. If you need to store it longer, consider refrigerating it for up to a week or freezing it. In fact, the cake freezes well; just make sure to double-wrap each layer and keep them in an airtight container.
To serve after freezing, allow the layers to thaw in the fridge overnight then frost them when they are completely cool. The flavors may actually develop more during the chilling process, enhancing the overall taste of the red velvet cake.
Questions About Recipes
→ Can I use cake flour instead of all-purpose flour?
Yes, using cake flour will yield a lighter cake with a slightly different texture.
→ How can I make this cake gluten-free?
You can substitute all-purpose flour with a gluten-free flour blend, ensuring it has a binding agent like xanthan gum.
→ How do I store leftovers?
Store the cake in an airtight container in the refrigerator for up to 5 days.
→ Can I freeze the cake?
Yes, you can freeze the un-frosted cake layers for up to 3 months. Just wrap them tightly in plastic wrap.
Pisces Red Velvet Cake
Created by: The Servesavor Team
Recipe Type: Sweet Recipe Collection
Skill Level: Intermediate
Final Quantity: 8 servings
What You'll Need
For the Cake
- 2 1/2 cups all-purpose flour
- 1 1/2 cups granulated sugar
- 1 teaspoon baking soda
- 1 teaspoon salt
- 1 teaspoon cocoa powder
- 1 1/2 cups vegetable oil
- 1 cup buttermilk, room temperature
- 2 large eggs, room temperature
- 2 tablespoons red food coloring
- 1 teaspoon vanilla extract
- 1 teaspoon white vinegar
For the Cream Cheese Frosting
- 8 oz cream cheese, softened
- 1/2 cup unsalted butter, softened
- 4 cups powdered sugar
- 1 teaspoon vanilla extract
How-To Steps
Preheat your oven to 350°F (175°C). Grease and flour two 9-inch round cake pans.
In a medium bowl, sift together the flour, sugar, baking soda, salt, and cocoa powder. Set aside.
In a large mixing bowl, combine oil, buttermilk, eggs, food coloring, vanilla, and vinegar. Whisk until well blended.
Gradually add the dry ingredients to the wet mixture, stirring gently until just combined. Be careful not to overmix.
Divide the batter equally between the prepared cake pans. Bake for 25-30 minutes, or until a toothpick inserted in the center comes out clean.
Allow the cakes to cool in the pans for about 10 minutes before transferring them to a wire rack to cool completely.
For the frosting, beat together cream cheese and butter in a large bowl until creamy. Gradually add powdered sugar and vanilla, mixing until smooth.
Once the cakes are completely cool, place one layer on a serving plate. Spread frosting on top, then add the other layer and frost the top and sides.
Slice the cake and enjoy it with family and friends!
Extra Tips
- For extra flavor, add a tablespoon of almond extract to the batter. Storing the cake in the refrigerator can prolong freshness if not consumed immediately.
Nutritional Breakdown (Per Serving)
- Calories: 380 kcal
- Total Fat: 26g
- Saturated Fat: 15g
- Cholesterol: 195mg
- Sodium: 85mg
- Total Carbohydrates: 32g
- Dietary Fiber: 3g
- Sugars: 24g
- Protein: 6g