Crusty French Bread Artisan
Highlighted under: World Dish Recipes
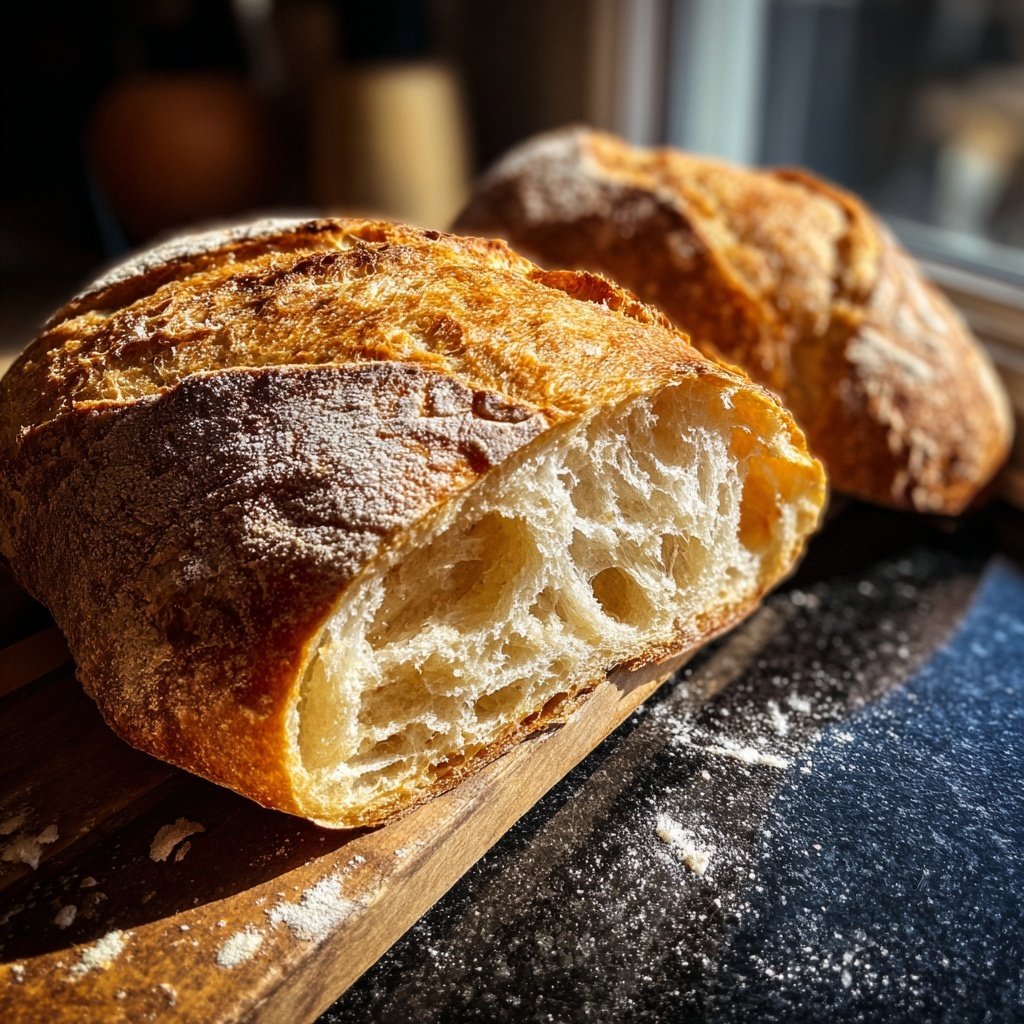
Learn how to make a perfect Crusty French Bread Artisan that is crispy on the outside and soft on the inside.
This Crusty French Bread Artisan recipe brings the taste of a traditional French bakery right to your home. With a crispy crust and a soft, airy interior, this bread is perfect for sandwiches, toasting, or simply enjoying with butter.
Why You Will Love This Recipe
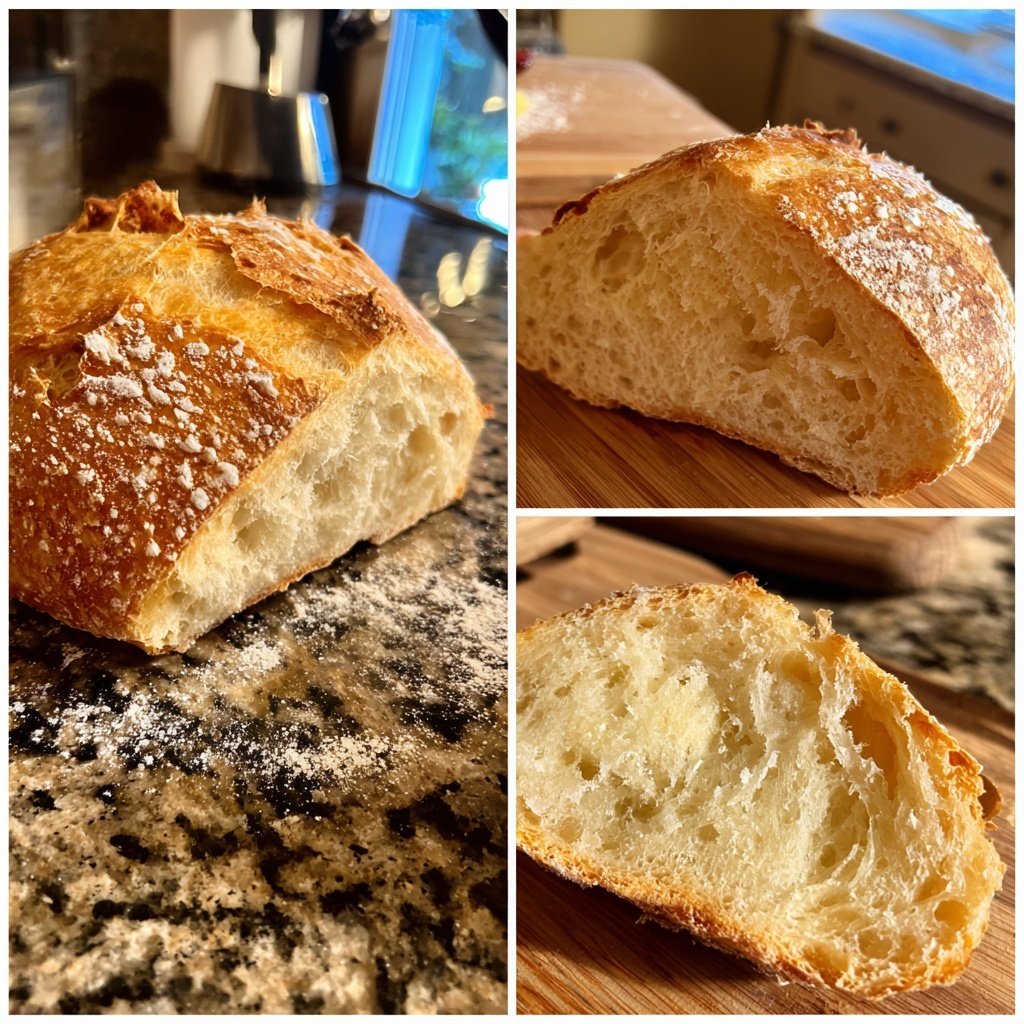
- Crispy crust that crackles with each bite
- Soft, fluffy interior perfect for sandwiches
- Simple ingredients that create a gourmet taste
- Perfect for sharing with family and friends
The Art of French Bread
Making French bread is both an art and a science. The balance of ingredients, the method of mixing, and the kneading process all play crucial roles in achieving that perfect crusty exterior and soft interior. This recipe simplifies the process, allowing you to create artisan-quality bread right in your own kitchen. With just a few simple steps, you can experience the joy of homemade bread, filling your home with a warm, inviting aroma.
The secret behind a great French bread lies in the fermentation process. By allowing the dough to rise slowly, you develop deeper flavors and a more complex texture. This recipe encourages patience, rewarding you with a loaf that is not only delicious but also visually stunning. The long rise time helps to create those characteristic air pockets that make each bite so delightful.
Using high-quality ingredients is essential for the best results. Opt for all-purpose flour that has a good protein content, as this contributes to the dough's structure. Fresh yeast is another key component; it activates the fermentation process and gives your bread that beautiful rise. Simple ingredients, when combined thoughtfully, yield exceptional results.
Tips for Perfecting Your Bread
To ensure your bread turns out perfectly every time, consider the temperature of your water when activating the yeast. It should be warm but not hot, ideally around 100°F (38°C). Too hot can kill the yeast, while too cold can delay activation. This small detail can make a significant difference in your bread's texture and rise.
When kneading the dough, don’t rush the process. Kneading develops gluten, which gives the bread its structure. Aim for a smooth and elastic consistency before the first rise. If the dough is too sticky, feel free to add a little extra flour, but be cautious not to add too much, as this can lead to a denser loaf.
During the rising phases, place your dough in a warm, draft-free area. You can create a warm environment by turning on your oven for a minute and then turning it off, allowing the dough to rise gently. A well-controlled environment will help the yeast work its magic, resulting in a beautifully risen loaf.
Serving and Storing Your Bread
Ingredients
For the Dough
- 500g all-purpose flour
- 350ml warm water
- 10g salt
- 7g active dry yeast
- 1 tablespoon sugar
For the Topping
- Extra flour for dusting
- Cornmeal for baking sheet
Ensure all ingredients are at room temperature before starting.
Instructions
Activate the Yeast
In a small bowl, combine warm water, sugar, and yeast. Let it sit for about 10 minutes until frothy.
Mix the Dough
In a large bowl, mix the flour and salt. Add the yeast mixture and stir until a shaggy dough forms.
Knead the Dough
Turn the dough onto a floured surface and knead for about 10 minutes until smooth and elastic.
First Rise
Place the kneaded dough in a lightly greased bowl, cover with a damp cloth, and let it rise in a warm place for about 1 hour or until doubled in size.
Shape the Loaf
Punch down the risen dough and shape it into a loaf. Place it on a baking sheet dusted with cornmeal.
Second Rise
Cover the loaf with a cloth and let it rise for another 30 minutes.
Preheat the Oven
Preheat your oven to 220°C (430°F).
Bake the Bread
Make slashes on top of the loaf for decoration, then bake for 30 minutes or until the crust is golden brown and sounds hollow when tapped.
Cool and Enjoy
Remove from the oven and let the bread cool on a wire rack before slicing. Enjoy your homemade crusty French bread!
Serve your bread warm or at room temperature. It pairs wonderfully with soups and salads.
Pro Tips
- For a crunchier crust, place a pan of water in the oven while baking to create steam.
Troubleshooting Common Issues
If your bread does not rise as expected, it may be due to old yeast or incorrect water temperature. Always check the expiration date on your yeast packet and ensure your water is at the right temperature when activating. If the dough is not rising adequately, try placing it in a warmer location and giving it more time.
For bread that is too dense, consider increasing the kneading time or ensuring you have enough hydration in your dough. A well-hydrated dough creates a lighter texture. If you find the crust is too hard, you can reduce the baking time slightly or cover the bread with foil during the latter part of the baking process to soften the crust.
Variations to Try
Once you've mastered the basic Crusty French Bread Artisan, you can start experimenting with different flavors. Adding herbs like rosemary or thyme to the dough can impart a delightful aroma and taste. For a touch of sweetness, consider mixing in dried fruits such as raisins or cranberries.
You can also try shaping your dough into baguettes or rolls for a fun twist on the traditional loaf. Adjust the baking time accordingly, as smaller shapes will cook faster. This allows you to create bite-sized portions perfect for gatherings or as individual servings.
Questions About Recipes
→ Can I use whole wheat flour instead?
Yes, you can substitute half of the all-purpose flour with whole wheat flour for a healthier option.
→ How do I know when the bread is done?
The bread is done when it is golden brown and sounds hollow when tapped on the bottom.
→ Can I freeze the bread?
Yes, you can freeze the bread. Wrap it tightly in plastic wrap and then in aluminum foil.
→ What can I serve with this bread?
This bread is delicious with butter, jams, or as a side with soups and salads.
Crusty French Bread Artisan
Created by: The Servesavor Team
Recipe Type: World Dish Recipes
Skill Level: Intermediate
Final Quantity: 1 loaf
What You'll Need
For the Dough
- 500g all-purpose flour
- 350ml warm water
- 10g salt
- 7g active dry yeast
- 1 tablespoon sugar
For the Topping
- Extra flour for dusting
- Cornmeal for baking sheet
How-To Steps
In a small bowl, combine warm water, sugar, and yeast. Let it sit for about 10 minutes until frothy.
In a large bowl, mix the flour and salt. Add the yeast mixture and stir until a shaggy dough forms.
Turn the dough onto a floured surface and knead for about 10 minutes until smooth and elastic.
Place the kneaded dough in a lightly greased bowl, cover with a damp cloth, and let it rise in a warm place for about 1 hour or until doubled in size.
Punch down the risen dough and shape it into a loaf. Place it on a baking sheet dusted with cornmeal.
Cover the loaf with a cloth and let it rise for another 30 minutes.
Preheat your oven to 220°C (430°F).
Make slashes on top of the loaf for decoration, then bake for 30 minutes or until the crust is golden brown and sounds hollow when tapped.
Remove from the oven and let the bread cool on a wire rack before slicing. Enjoy your homemade crusty French bread!
Extra Tips
- For a crunchier crust, place a pan of water in the oven while baking to create steam.
Nutritional Breakdown (Per Serving)
- Calories: 250 kcal
- Total Fat: 1g
- Saturated Fat: 0g
- Cholesterol: 0mg
- Sodium: 400mg
- Total Carbohydrates: 52g
- Dietary Fiber: 2g
- Sugars: 0g
- Protein: 8g