Garden Pea and Mint Hummus
Highlighted under: Nutritious Meal Recipes
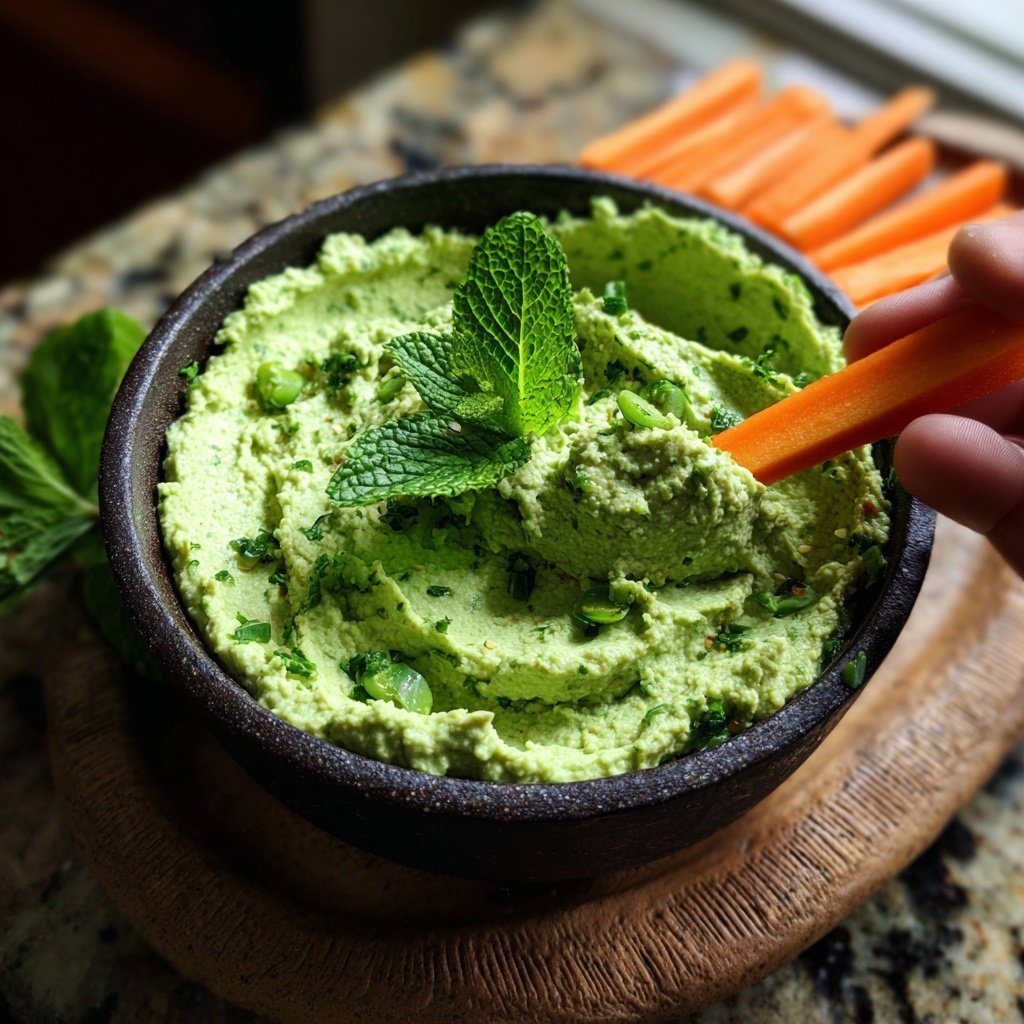
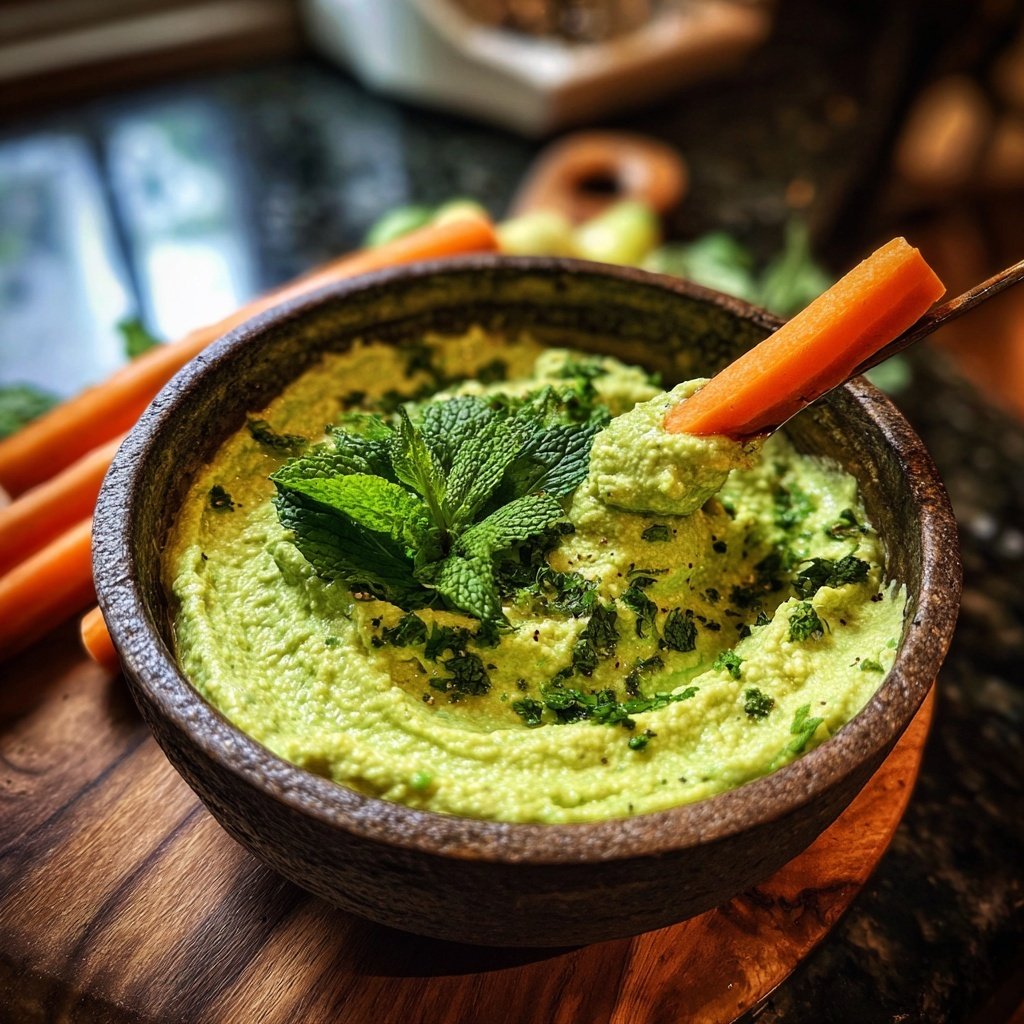
I love making this Garden Pea and Mint Hummus for gatherings or as a quick snack at home. The vibrant green color and refreshing taste make it a perfect dip for fresh veggies or pita chips. The combination of sweet garden peas and bright mint creates a unique twist on traditional hummus. I often find myself snacking on it straight from the bowl, and it never fails to impress guests. Plus, it’s incredibly easy to whip up, taking just a few minutes in the food processor!
Creating this Garden Pea and Mint Hummus has become a staple in my kitchen. The vibrant green blend is as pleasing to the eye as it is to the palate. I remember the first time I made it; I was surprised at how quickly it came together, and how fresh the flavors turned out with just a handful of ingredients.
One tip I learned is to use frozen peas; they are convenient and just as sweet as fresh ones when blended. The mint adds a refreshing touch that elevates the flavor profile, making it a hit at every gathering!
Why You'll Love This Recipe
- Refreshing sweetness from garden peas with a hint of mint
- Quick to prepare, perfect for last-minute snacks
- Versatile dip that pairs beautifully with various dippers
The Role of Fresh Ingredients
Using fresh garden peas in this hummus adds a natural sweetness and vibrant color that frozen alternatives simply can't match. The thawed peas maintain their bright green hue, making the final dip visually appealing. If fresh peas are in season, feel free to substitute; just steam them lightly before blending to preserve their flavor. This reinforces the idea that the best ingredients yield the most delicious results.
Incorporating fresh mint leaves gives this hummus its refreshing twist. Mint not only enhances the flavor profile but also complements the peas, creating a light and invigorating dip. Ensure you choose young, tender mint leaves, as they have a milder taste compared to older leaves. A few extra leaves blended in won’t overpower the dish and can elevate freshness.
The lemon juice plays a crucial role beyond flavor; it helps to balance the sweetness of the peas while adding acidity that enhances other ingredients. It's essential to taste and adjust the lemon juice to your preference. If you prefer a zestier dip, don’t hesitate to add a bit more. It’s all about finding that perfect balance between sweet and tart.
Perfecting the Texture
When blending the ingredients, start with the food processor on a low speed before gradually increasing to high. This method helps break down the peas more effectively without splattering. Aim for a smooth consistency, but don't rush the blending process; it usually takes about 1-2 minutes on high. If the mixture appears too thick, slowly add water to achieve a creamy, dip-worthy texture.
If you accidentally over-blend the hummus, and it becomes too runny, you can add a tablespoon of tahini or another few peas to thicken it back up. The tahini not only adds thickness but also contributes a rich, nutty flavor that enhances the overall complexity of the dip. Just remember to re-taste after adjustments to maintain the balance.
For a more textured hummus, consider reserving a few whole peas to stir in at the end. This adds an appealing visual contrast and a slight crunch. You might also experiment with incorporating roasted garlic for a deeper flavor or a hint of smoked paprika for additional depth.
Ingredients
Ingredients
For the Hummus
- 1 cup frozen garden peas, thawed
- 1/4 cup tahini
- 2 tablespoons fresh lemon juice
- 1 tablespoon olive oil
- 1/4 cup fresh mint leaves
- Salt and pepper to taste
- Water as needed for consistency
Feel free to adjust the seasoning and mint to your liking!
Instructions
Instructions
Blend the Ingredients
In a food processor, combine the thawed garden peas, tahini, lemon juice, olive oil, mint leaves, salt, and pepper. Blend until smooth, adding water a tablespoon at a time to reach your desired consistency.
Taste and Adjust
Taste the hummus and adjust the seasoning as necessary, adding more lemon juice, salt, or mint if desired.
Serve
Transfer the hummus to a serving bowl, drizzle with a little olive oil, and serve with your choice of dippers.
Enjoy your vibrant and refreshing hummus!
Pro Tips
- For added flavor, try garnishing with extra mint leaves or a sprinkle of paprika before serving.
Storage and Make-Ahead Tips
Garden Pea and Mint Hummus can be made a day in advance, making it perfect for gatherings. Store it in an airtight container in the refrigerator, where the flavors will meld beautifully. Just remember to give it a good stir before serving, as some separation may occur during storage.
If you want to freeze the hummus, portion it into smaller containers or ice cube trays, allowing you to defrost just what you need. The hummus can be frozen for up to three months, but keep in mind that the texture may change slightly. When thawing, it’s best to leave it in the fridge overnight and then blend briefly to restore creaminess.
To keep your hummus vibrant and fresh, I recommend waiting to drizzle the olive oil on top until just before serving. This not only enhances the presentation but also keeps the oil fragrant and flavorful.
Dipper Ideas and Serving Suggestions
This hummus pairs beautifully with an array of dippers. Fresh veggies like carrot sticks, cucumber slices, and bell pepper strips add a nice crunch and are colorful visually. Alternatively, crispy pita chips or warm pita bread offer a delightful contrast in texture, making it a fantastic choice for any snack platter.
For a heartier option, consider serving the hummus with grilled meats or seafood. The refreshing mint and pea flavor can perfectly complement grilled chicken, shrimp, or even gyros, making it a versatile addition to your meals.
As a fun twist, you can serve the hummus in mini bowls with a variety of toppings. Add crumbled feta cheese, a sprinkle of chili flakes, or a squeeze of lemon. This not only upgrades the presentation but also gives each guest a personalized touch to their snack.
Questions About Recipes
→ Can I use fresh peas instead of frozen?
Yes, you can use fresh peas, but make sure they are cooked and cooled before blending.
→ How long can I store this hummus?
You can store it in an airtight container in the refrigerator for up to one week.
→ Can I freeze this hummus?
Yes, this hummus freezes well. Just make sure to store it in a freezer-safe container.
→ What can I serve with this hummus?
It pairs wonderfully with pita chips, fresh vegetables, or even spread on sandwiches!
Garden Pea and Mint Hummus
Created by: The Servesavor Team
Recipe Type: Nutritious Meal Recipes
Skill Level: Easy
Final Quantity: 4 servings
What You'll Need
For the Hummus
- 1 cup frozen garden peas, thawed
- 1/4 cup tahini
- 2 tablespoons fresh lemon juice
- 1 tablespoon olive oil
- 1/4 cup fresh mint leaves
- Salt and pepper to taste
- Water as needed for consistency
How-To Steps
In a food processor, combine the thawed garden peas, tahini, lemon juice, olive oil, mint leaves, salt, and pepper. Blend until smooth, adding water a tablespoon at a time to reach your desired consistency.
Taste the hummus and adjust the seasoning as necessary, adding more lemon juice, salt, or mint if desired.
Transfer the hummus to a serving bowl, drizzle with a little olive oil, and serve with your choice of dippers.
Extra Tips
- For added flavor, try garnishing with extra mint leaves or a sprinkle of paprika before serving.
Nutritional Breakdown (Per Serving)
- Calories: 180 kcal
- Total Fat: 10g
- Saturated Fat: 1g
- Cholesterol: 0mg
- Sodium: 100mg
- Total Carbohydrates: 20g
- Dietary Fiber: 6g
- Sugars: 3g
- Protein: 6g